Overview
This page describes how to Integrate AutoCompose in your Salesforce application.Integration Steps
There are three parts to the AutoCompose setup process. Use the links below to skip to information about a specific part of the process:- Configure the Salesforce organization centrally using an administrator account
- Setup agent/user authentication through the existing single sign-on (SSO) service
- Work with your ASAPP contact to configure Auto-Pilot Greetings, if desired
Expected effort for each part of the setup process:
- 1 hour for installation and configuration of the ASAPP chat components
- 1-2 hours to enable user authentication, depending on SSO system complexity
Requirements
Browser Support ASAPP AutoCompose is supported in Google Chrome and Microsoft EdgeNOTE: This support covers the latest version of each browser and extends to the previous two versionsPlease consult your ASAPP account contact if your installation requires support for other browsers

| Domain | Description |
|---|---|
| *.asapp.com | ASAPP service URLs |
| *.ingest.sentry.io | Application performance monitoring tool |
| fonts.googleapis.com | Fonts |
| google-analytics.com | Page analytics |
| asapp-chat-sdk-production.s3.amazonaws.com | Static ASAPP AWS URL for desktop network connectivity health check |
Integrate with Salesforce
1. Configure the Salesforce Organization Centrally
Before You Begin You will need the following information to configure ASAPP for Salesforce:-
Administrator credentials to login to your Salesforce organization account.
- NOTE: Organization and Administrator should be enabled for ‘chat’.
-
A URL for the ASAPP installation package, which will be provided by ASAPP.
ASAPP provides the same install package for implementing both AutoCompose and AutoSummary in Salesforce. Use this guide to configure AutoCompose.If you’re looking to implement AutoSummary, use this guide.
- API Id and API URL values, which can be found in your ASAPP Developer Portal account (developer.asapp.com) in the Apps section.
- Open the package installation URL from ASAPP.
- Login with your Salesforce organization administrator credentials. The package installation page appears:
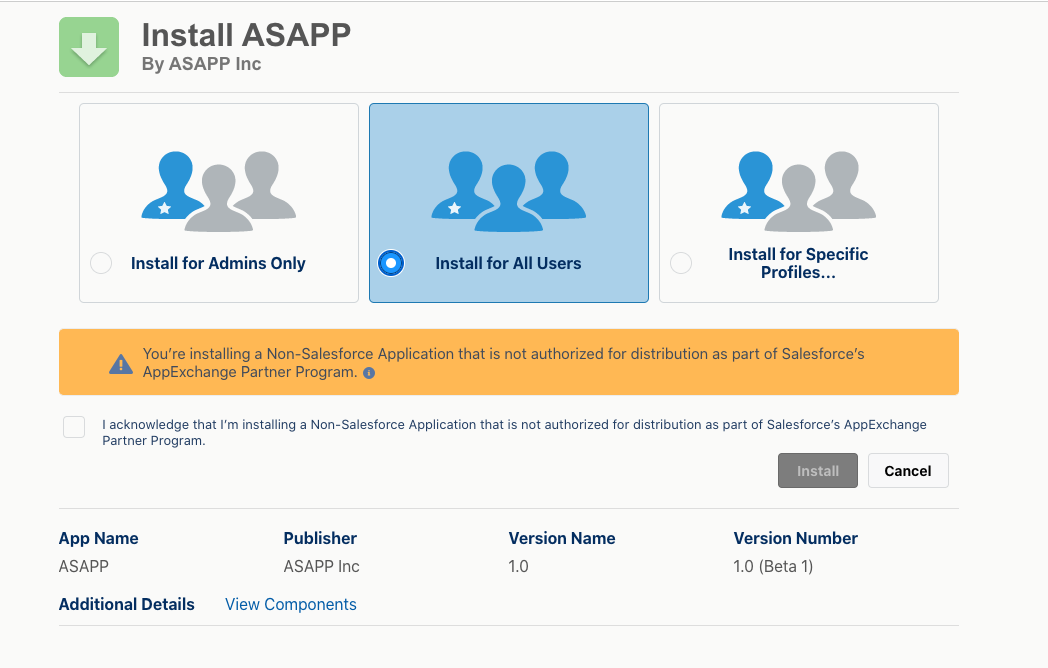
- Choose Install for All Users (as shown above).
- Check the acknowledgment statement and click the Install button:

- The Installation runs. An Installation Complete! message appears:
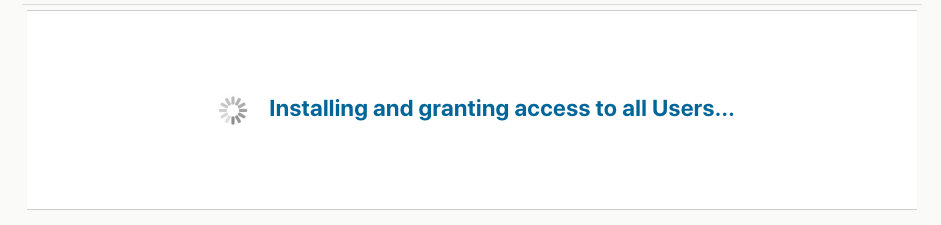

- Click the Done button.
- Open the ‘Service Console’ page (or your chat page).
- Choose an existing chat session or start a new chat session so that the chat transcript page appears (the exact mechanism is organization-specific).
-
In the top-right, click the gear icon, then right-click Edit Page, and Open Link in a New Tab.
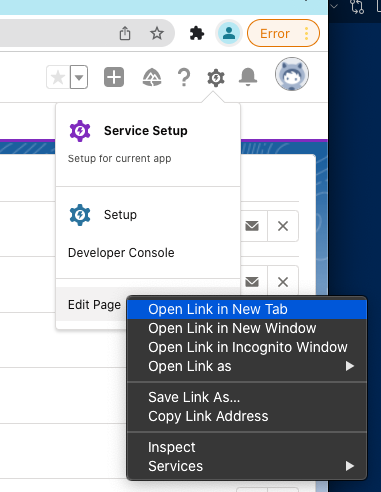
-
Navigate to the new tab to see the chat transcript edit page:
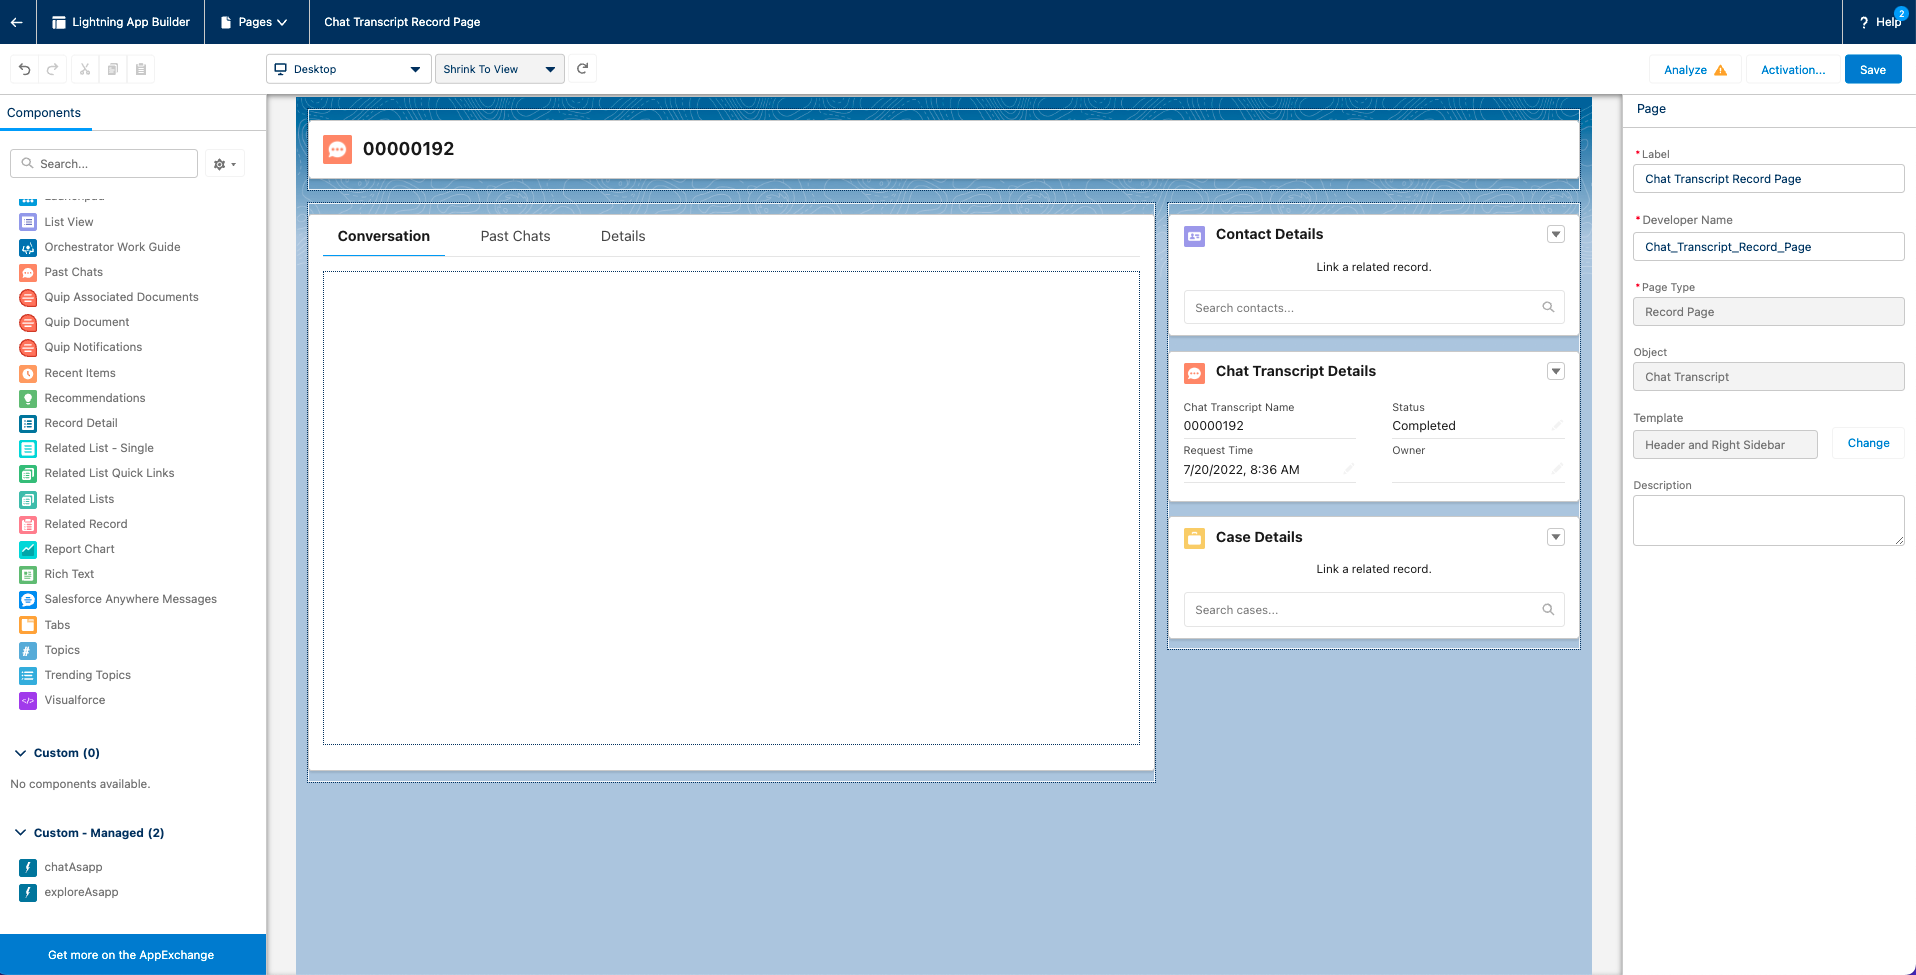
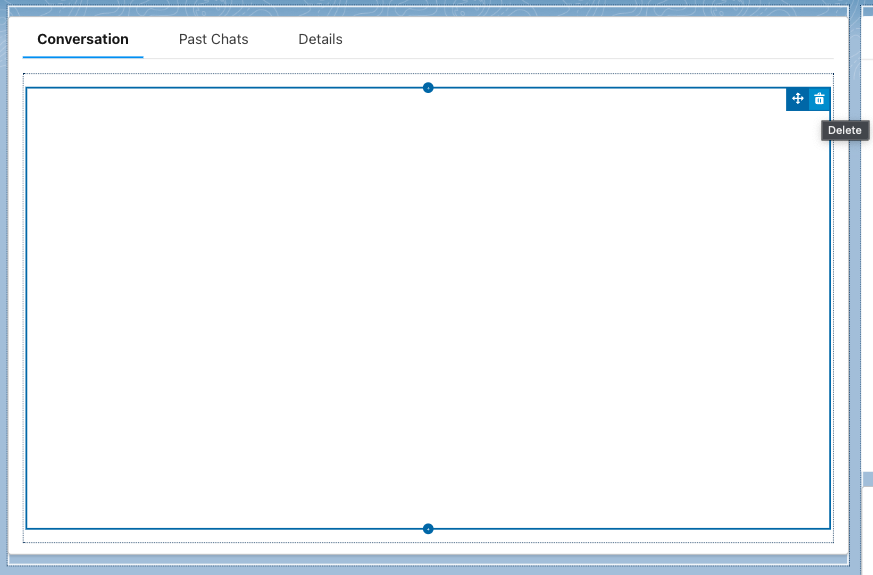
-
Select the conversation panel (middle) and delete it.
-
Drag the chatAsapp component (left), inside the conversation panel:
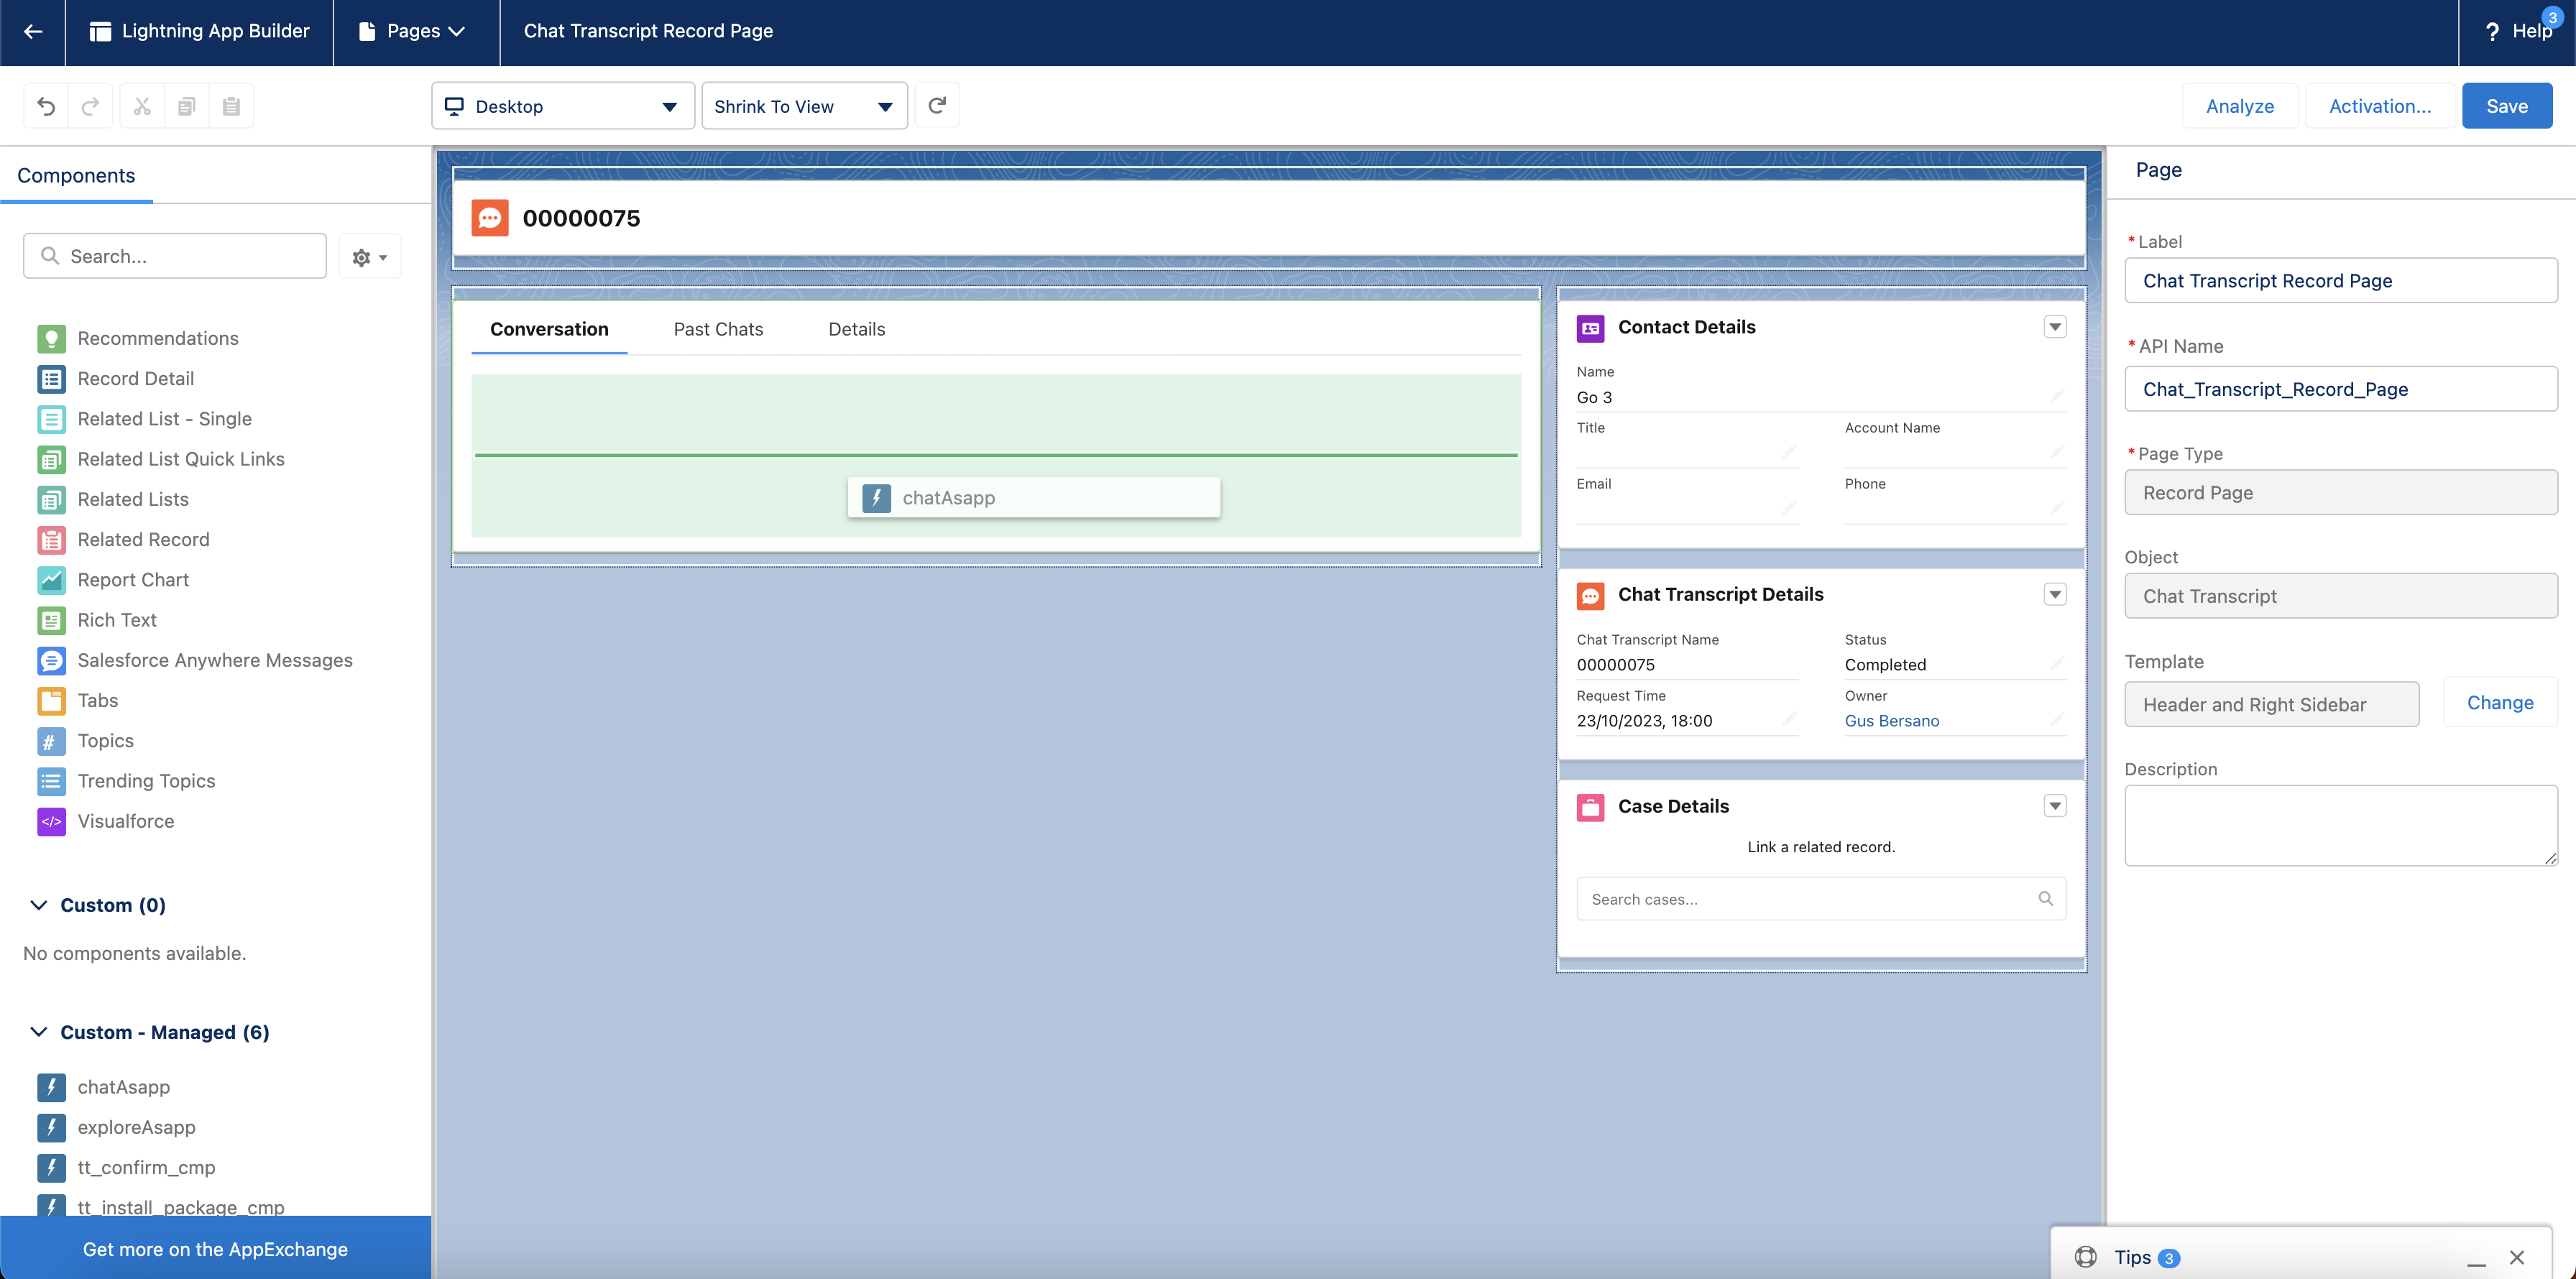
-
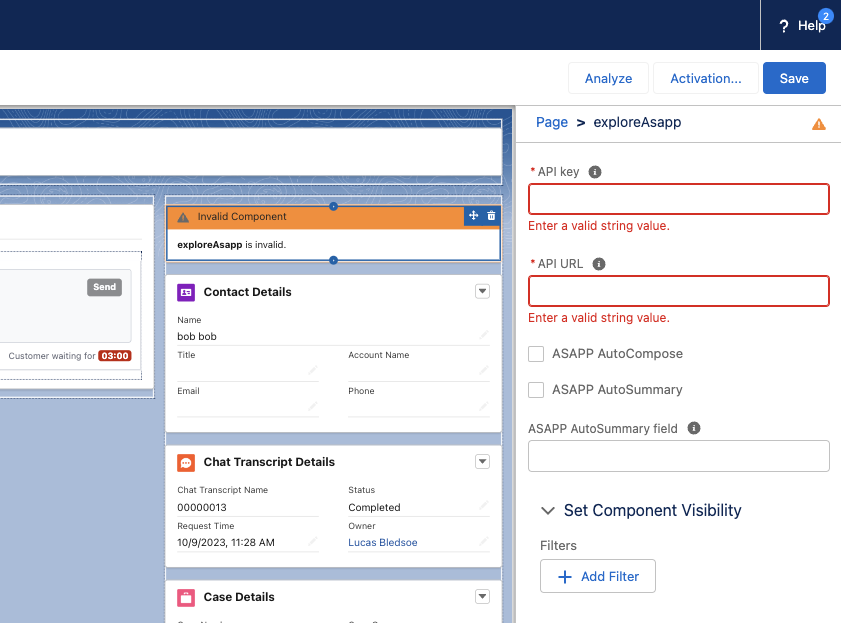
Drag the exploreAsapp component (left), to the right column. Next, add your organization’s API key and API URL (found in the ASAPP Developer Portal) in the rightmost panel:
The API key is labeled as API Id in the ASAPP Developer Portal.The API URL should be listed as
https://api.sandbox.asapp.comfor lower environments andhttps://api.asapp.comfor production.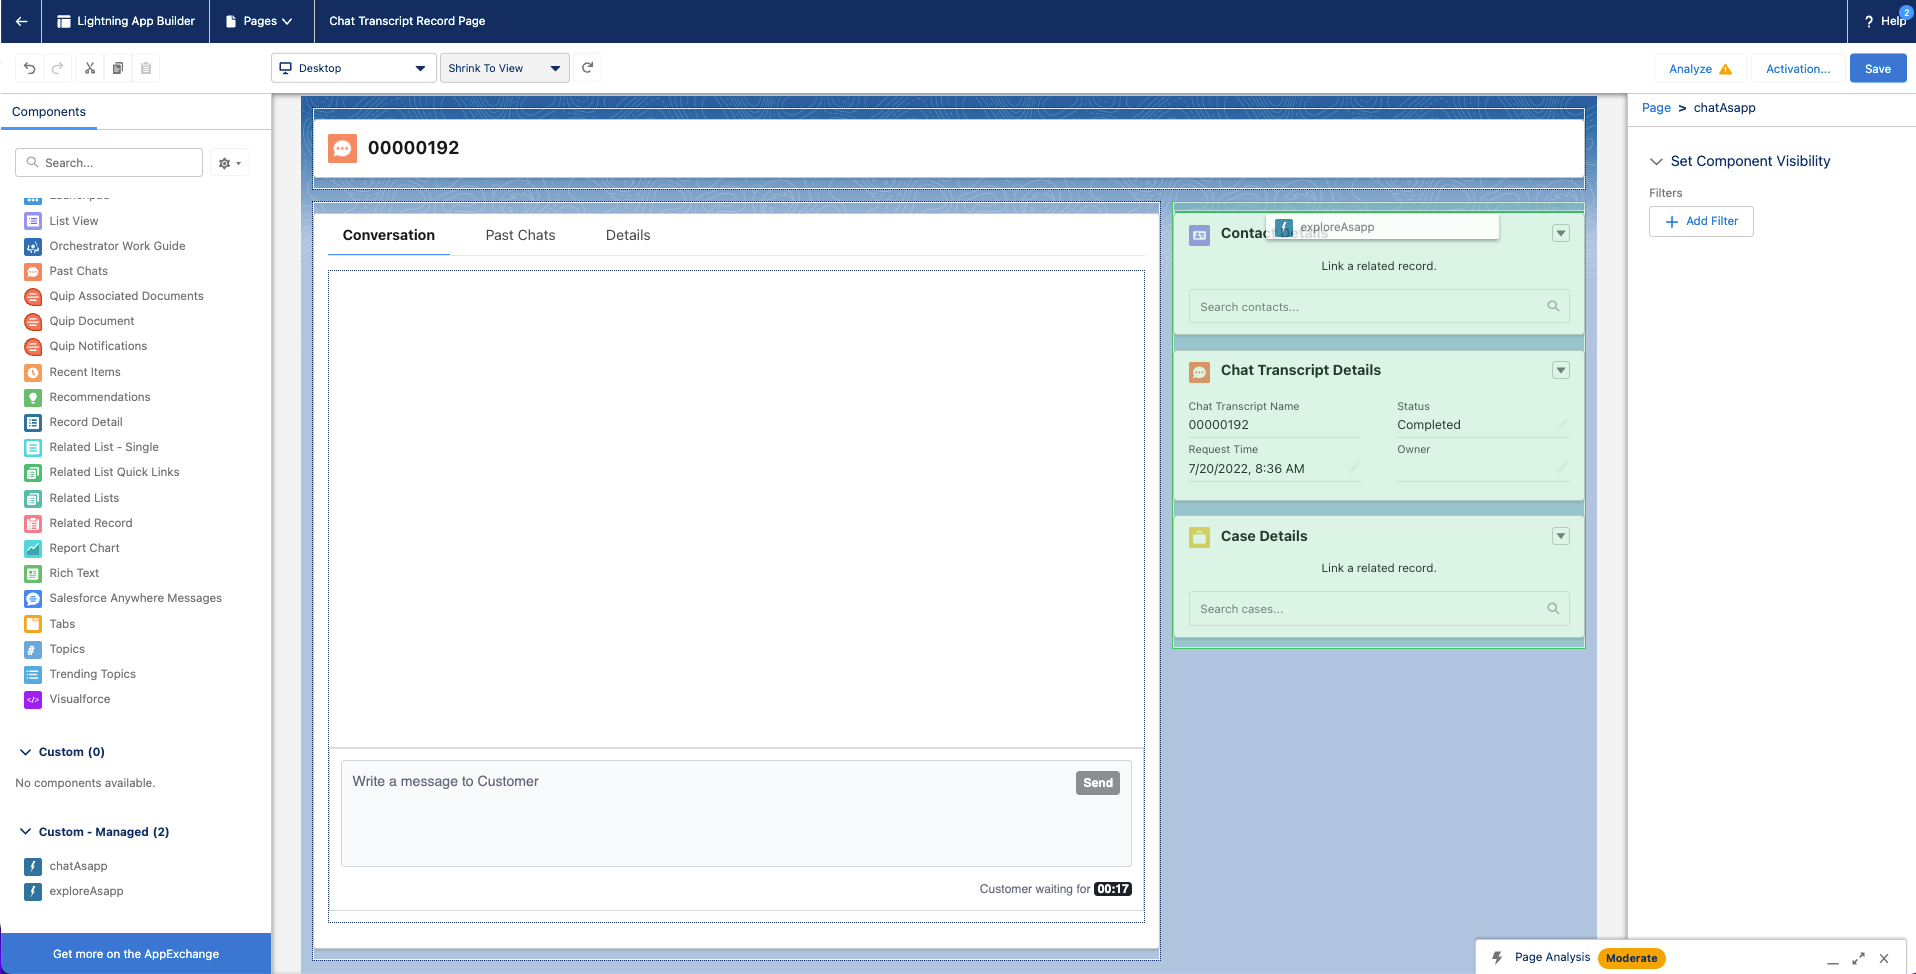
-
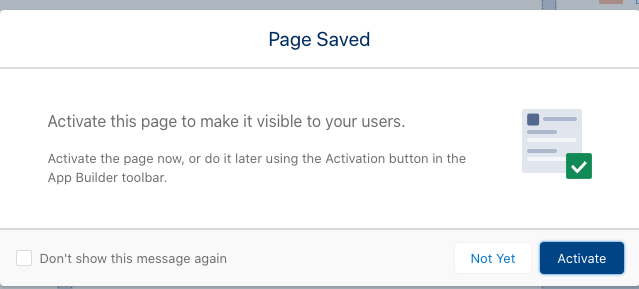
Click Save, then click Activate
-
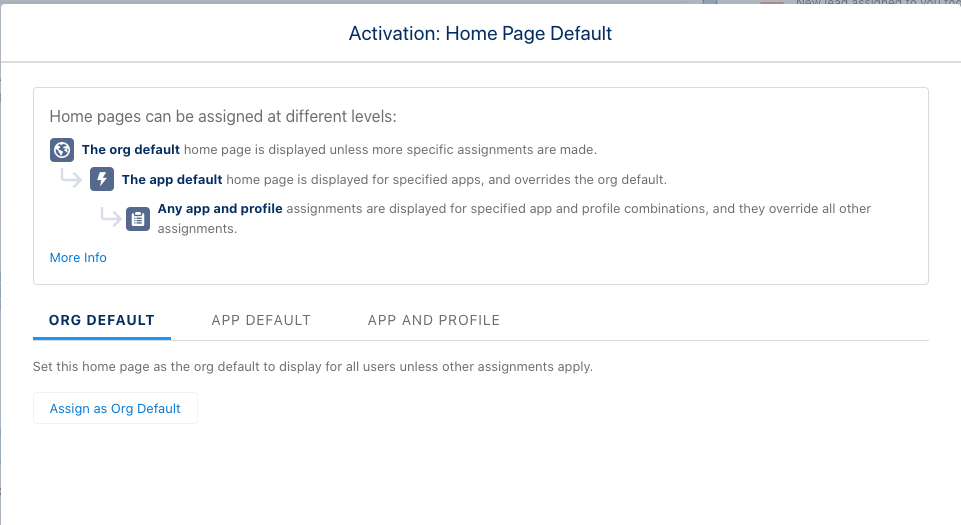
Click Assign as org default.
-
Choose Desktop form factor, then click Save.
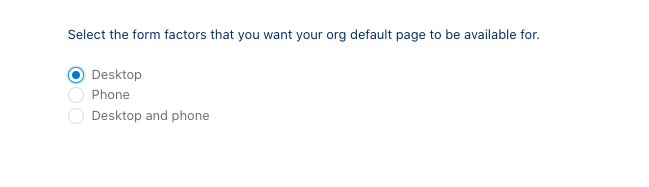
-
Return to the chat transcript page and refresh - the ASAPP composer should appear.
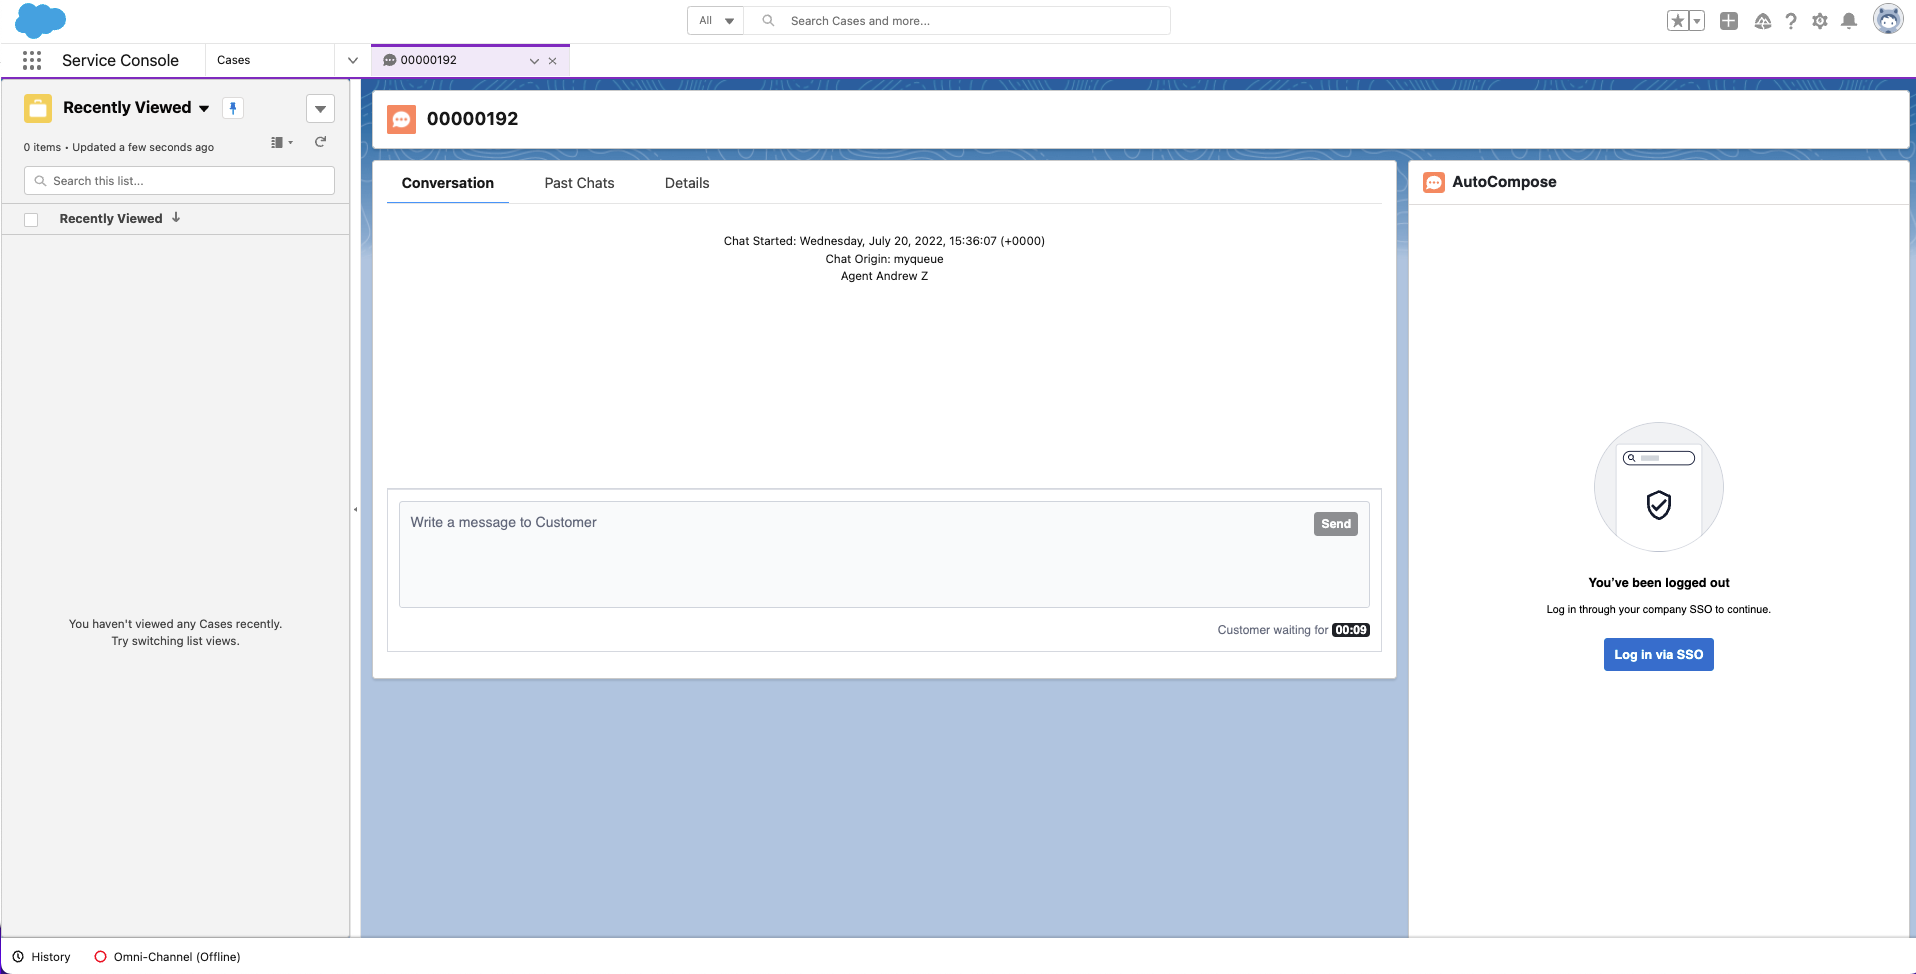
2. Set Up Single Sign-On
ASAPP handles authentication through the customer’s SSO service to confirm the identity of the agent. ASAPP acts as the Service Provider (SP) with the customer acting as the Identity Provider (IDP). The customer’s authentication system performs user authentication using their existing user credentials. ASAPP supports SP-initiated SSO with either OIDC (preferred method) and SAML. Once the user initiates sign-in, ASAPP detects that the user is authenticated and requests an assertion from the customer’s SSO service. Configuration Steps for OIDC (preferred method)-
Create a new IDP OIDC application with type
Web -
Set the following attributes for the app:
*NOTE: ASAPP to provideAttribute
Value*
Grant Type
authorization code
Sign-in Redirect URIs
Production:
https://api.asapp.com/auth/v1/callback/\{company_marker\}Sandbox:
https://api.sandbox.asapp.com/auth/v1/callback/\{company_marker\}-sandboxcompany_markervalue -
Save the application and send ASAPP the
Client IDandClient Secretfrom the app through a secure communication channel -
Set scopes for the OIDC application:
- Required:
openid - Preferred:
email,profile
- Required:
- Tell ASAPP which end-user attribute should be used a unique identifier
- Tell ASAPP your IDP domain name
- Create a new IDP SAML application.
-
Set the following attributes for the app:
*NOTE: ASAPP to provide
Attribute Value* Single Sign On URL Production: https://sso.asapp.com/auth/realms/standalone-{company_marker}-auth/broker/saml/endpoint/clients/asapp-saml
Sandbox:https://sso.asapp.com/auth/realms/standalone-{company_marker}-auth/broker/saml-sandbox/endpoint/clients/asapp-saml-sandboxRecipient URL Production: https://sso.asapp.com/auth/realms/standalone-{company_marker}-auth/broker/saml/endpoint/clients/asapp-saml
Sandbox:https://sso.asapp.com/auth/realms/standalone-{company_marker}-auth/broker/saml-sandbox/endpoint/clients/asapp-saml-sandboxDestination URL Production: https://sso.asapp.com/auth/realms/standalone-{company_marker}-auth/broker/saml/endpoint/clients/asapp-saml
Sandbox:https://sso.asapp.com/auth/realms/standalone-{company_marker}-auth/broker/saml-sandbox/endpoint/clients/asapp-saml-sandboxAudience Restriction Production: https://sso.asapp.com/auth/realms/standalone-{company_marker}-auth/broker/saml/endpoint/clients/asapp-saml
Sandbox:https://sso.asapp.com/auth/realms/standalone-{company_marker}-auth/broker/saml-sandbox/endpoint/clients/asapp-saml-sandboxResponse Signed Assertion Signed Signature Algorithm RSA_SHA256 Digest Algorithm SHA256 Attribute Statements externalUserId: {unique_id_to_identify_the_user}company_markervalue - Save the application and send the Public Certificate to validate Signature for this app SAML payload to ASAPP team
- Send ASAPP team the URL of the SAML application
3. Configure Auto-Pilot Greetings
If you so choose, you can work with your ASAPP contact to enable Auto-Pilot Greetings in your AutoCompose installation. Auto-Pilot Greetings automatically generates a greeting at the beginning of a conversation, and that greeting can be automatically sent to a customer on your agent’s behalf after a configurable timer elapses. Your ASAPP contact can:- Turn Auto-Pilot Greetings on or off for your organization
- Set a countdown timer value after which the Auto-Pilot Greeting is sent if an agent does not cancel Auto-Pilot by typing or clicking a “cancel” button
- Set the global default messages that will be provided for Auto-Pilot Greetings across your organization (note that agents can optionally customize their Auto-Pilot Greetings messages within the Auto-Pilot tab of the AutoCompose panel)
Usage
Customization
Conversation Attributes
Once the ASAPP AutoCompose widget is embedded, Salesforce shares the following conversation attributes with ASAPP: customer name, agent name and skill. ASAPP can use name attributes to populate values into templated responses (e.g. “Hi [customer name], how can I help you today?”) and to selectively filter response lists based on the skill of the conversation.Conversation Redaction
When message text in the conversation transcript is sent to ASAPP, ASAPP applies redaction to the message text to prevent transmission of sensitive information. Reach out to your ASAPP account contact for information on available redaction capabilities to configure for your implementation.Composer Placement
ASAPP currently targets Lightning desktops. Within Lightning-based desktops, you are free to place our composer wherever you choose. However, we suggest placing it immediately below the Salesforce conversation widget, such that the chat log appears above the ASAPP composer.Data Security
ASAPP’s security protocols protect data at each point of transmission from first user authentication, to secure communications, to our auditing and logging system, all the way to securing the environment when data is at rest in the data logging system. Access to data by ASAPP teams is tightly constrained and monitored. Strict security protocols protect both ASAPP and our customers. The following security controls are particularly relevant to AutoCompose:- Client sessions are controlled using a time-limited authorization token. Privileges for each active session are controlled server-side to mitigate potential elevation-of-privilege and information disclosure risks.
- To avoid unauthorized disclosure of information, unique, non-guessable IDs are used to identify conversations. These conversations can only be accessed using a valid client session.
- Requests to API endpoints that can potentially receive sensitive data are put through a round of redaction to strip the request of sensitive data (like SSNs and phone numbers).